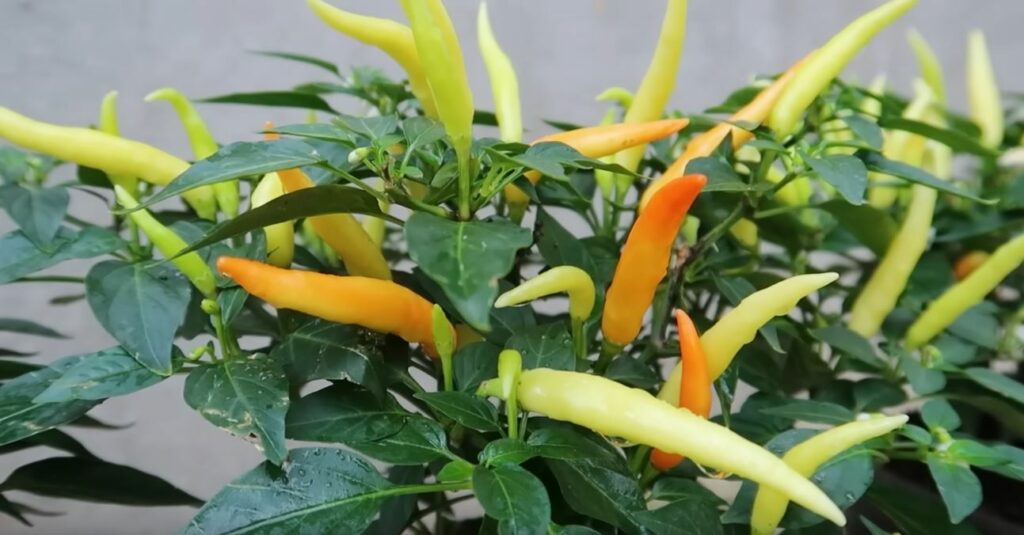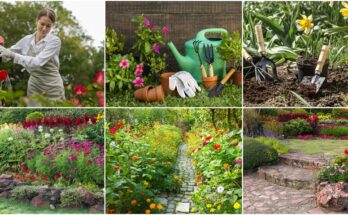
Today, We are thrilled to share an innovative method that not only simplifies the chili-growing process but also ensures minimal daily watering hassles.
Growing chili in plastic bottles is a simple and eco-friendly method that not only yields flavorful results but also conserves water. This innovative gardening approach allows you to repurpose plastic bottles while creating a self-sustaining system for your chili plants. In this article, we’ll take you through the easy steps of growing chili in plastic bottles, emphasizing the simplicity and efficiency of this sustainable gardening practice.
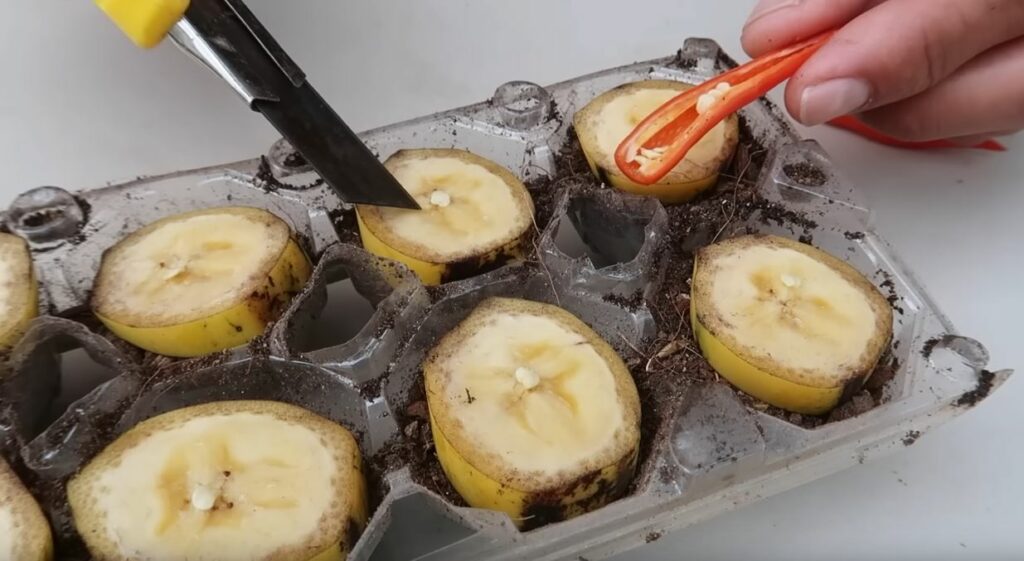
Banana Powered Beginnings
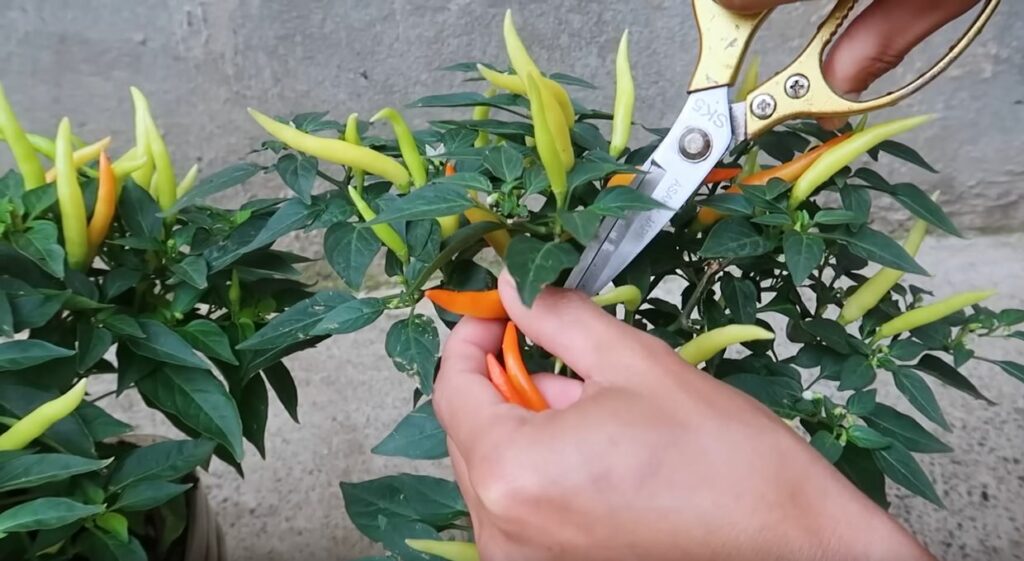
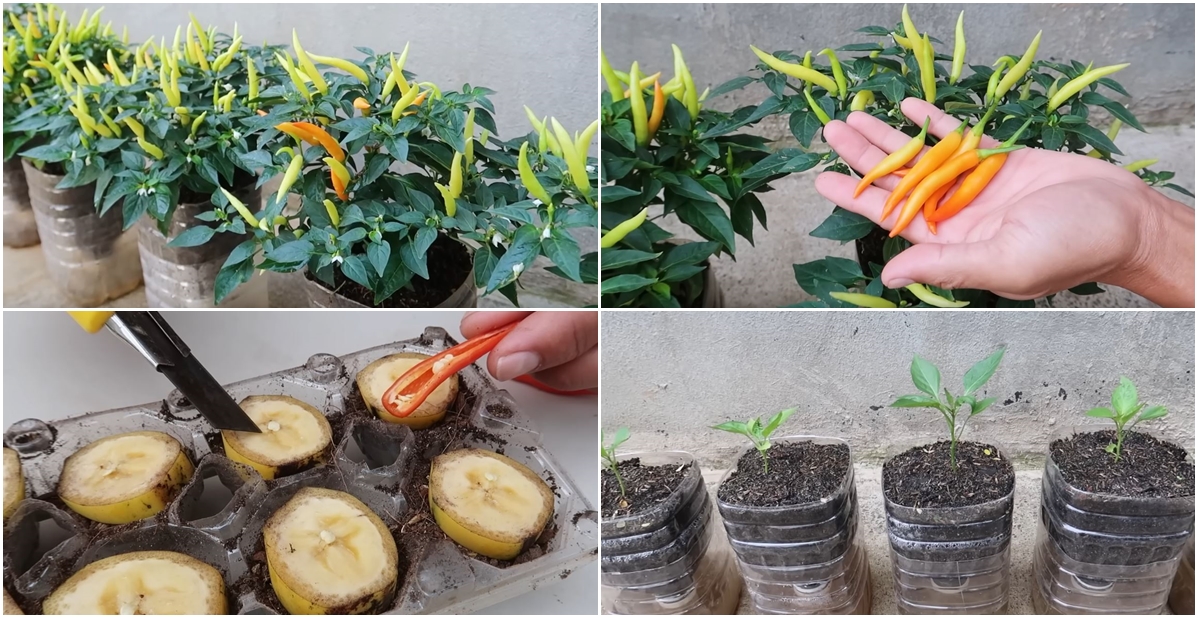
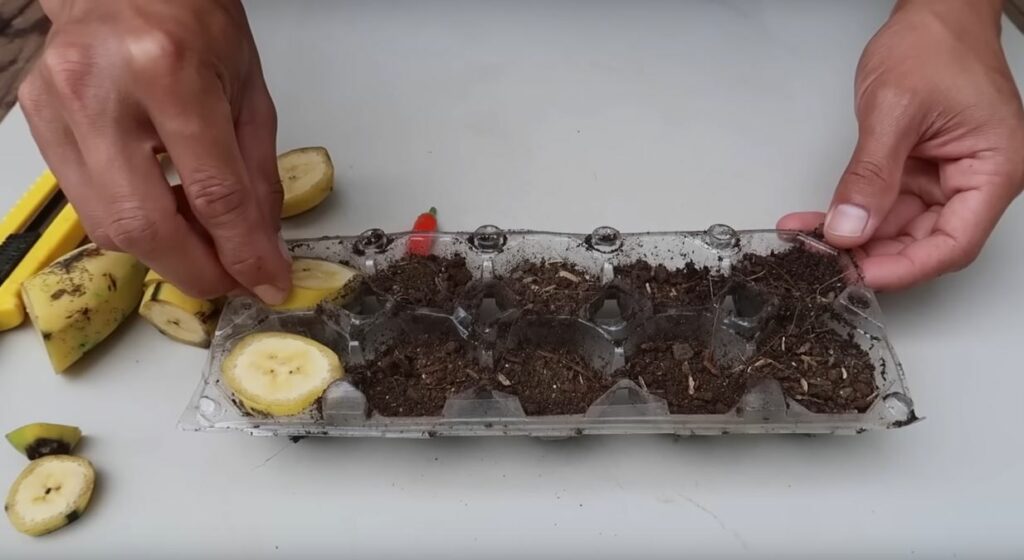
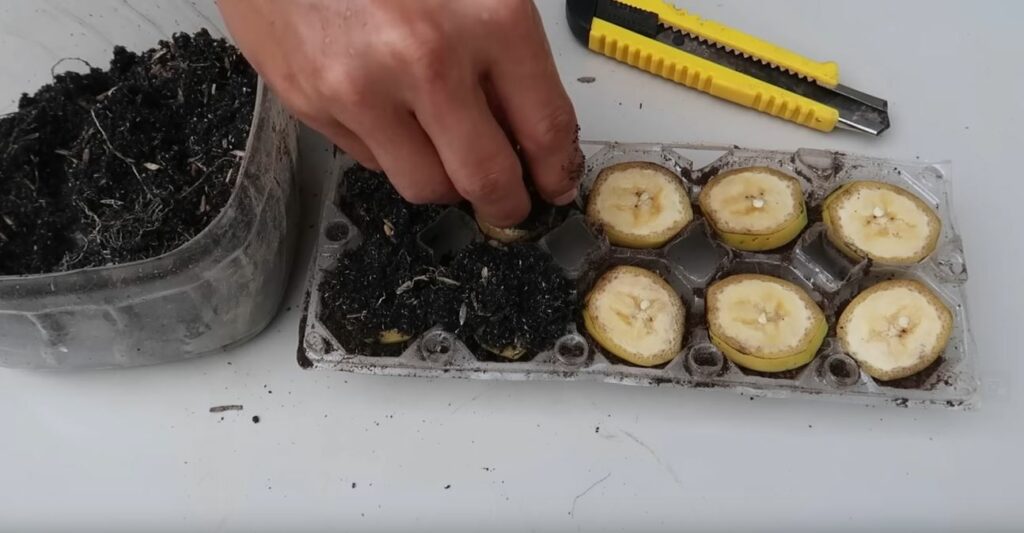
To kickstart this unique journey, we begin by harnessing the power of bananas as a rooting stimulant. The process involves cutting ripe chili to extract seeds, which are then carefully placed on banana slices. These seed-laden banana slices serve as the foundation for our chili-growing adventure.
Materials Needed:
Plastic bottles (1- or 2-liter size)
Potting soil
Chili seeds or seedlings
Utility knife or scissors
Watering can
Fertilizer (optional)
Step 1: Choosing the Right Bottles
Select clean and durable plastic bottles with caps for your chili plants. Both 1- and 2-liter bottles work well, depending on your space and preference. Ensure the bottles are transparent to allow sunlight to reach the plants. Remove labels and clean the bottles thoroughly before use.
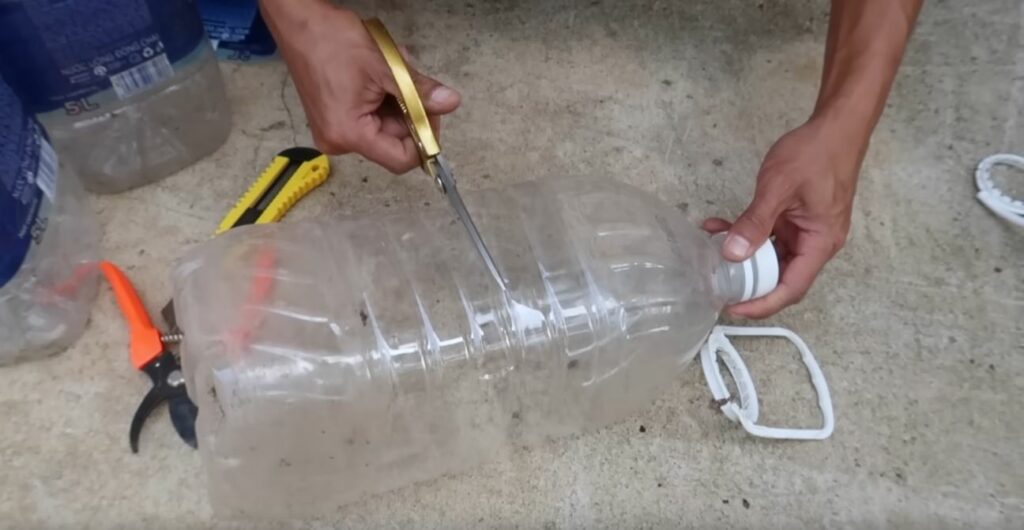
Step 2: Preparing the Bottles
Using a utility knife or scissors, carefully cut the plastic bottles in half, creating two separate sections. Retain the upper part with the cap to serve as a makeshift greenhouse for your chili plant. Create drainage holes in the bottom half to prevent water accumulation.
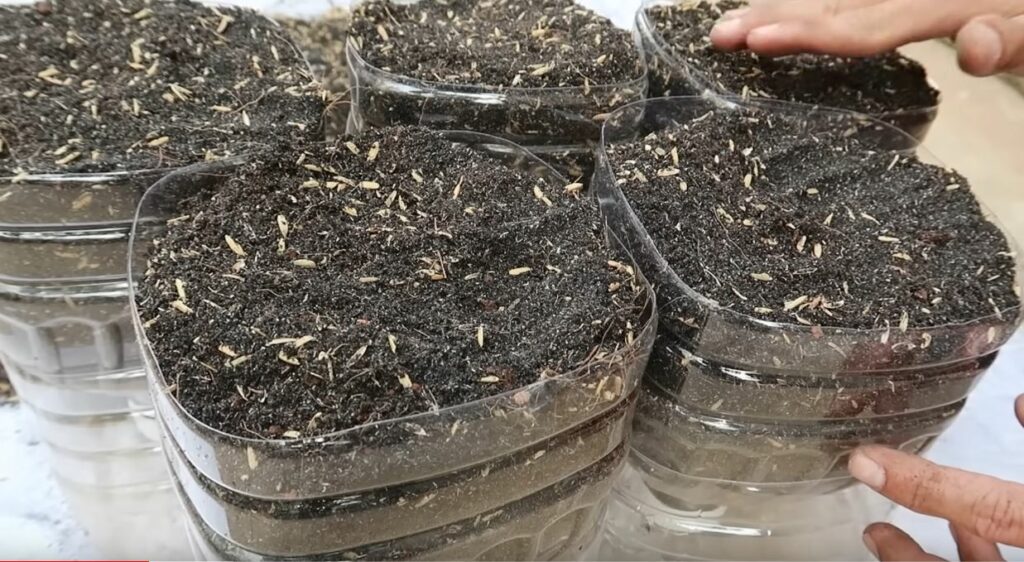
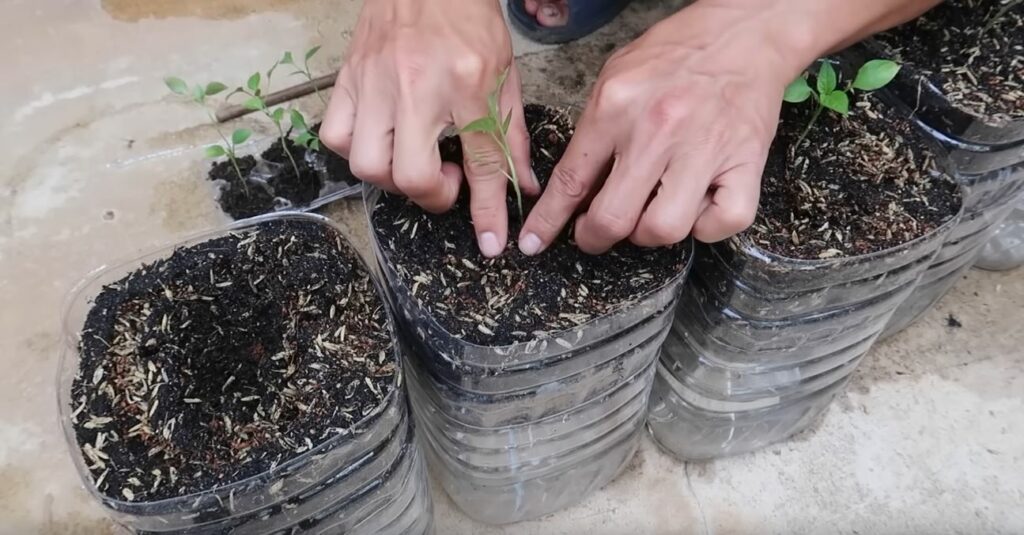
Step 3: Filling with Soil
Fill the bottom half of the bottle with quality potting soil, leaving some space at the top for watering. Plant chili seeds or seedlings according to the recommended depth and spacing for the specific chili variety you’re cultivating.
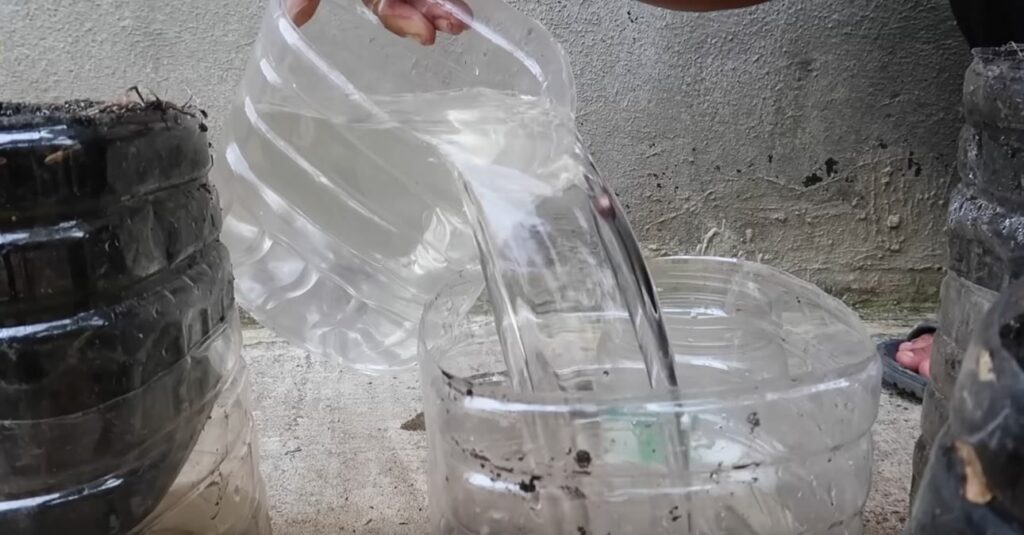
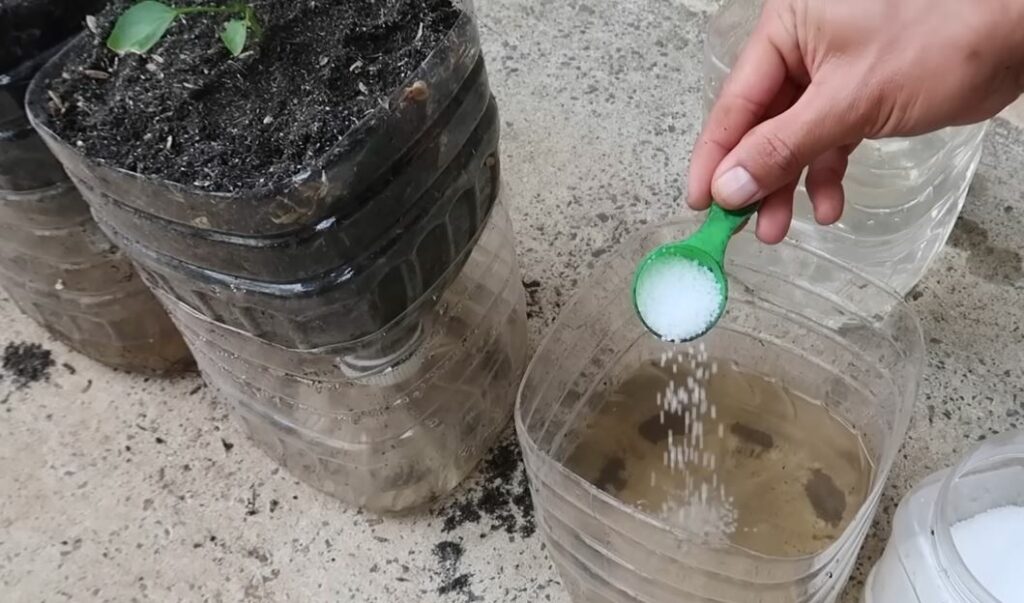
Step 4: Watering
Water the soil thoroughly after planting. The bottom half of the bottle acts as a reservoir, storing water and establishing a self-watering system for your chili plants. As the plants grow, they’ll naturally absorb moisture from the reservoir, minimizing the need for frequent watering.
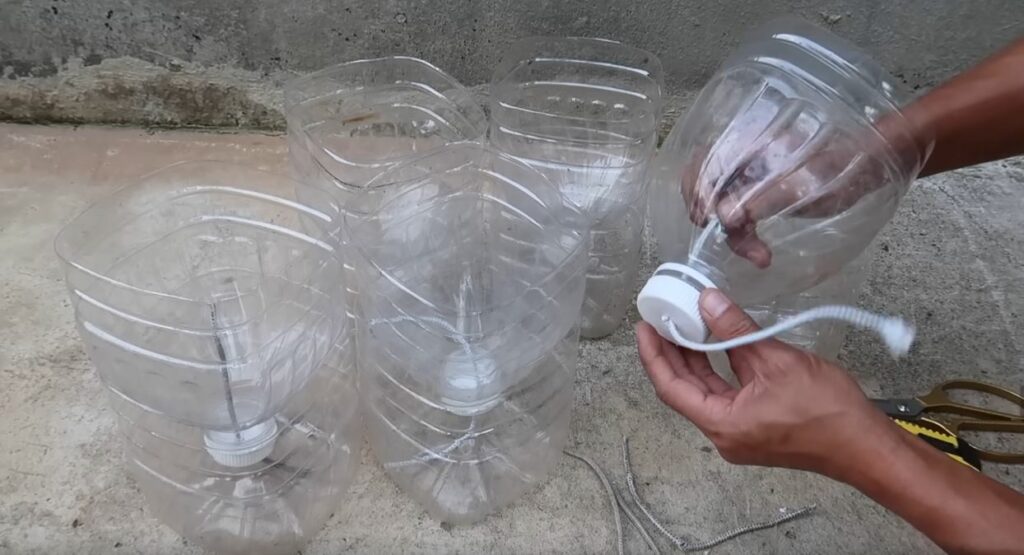
Step 5: Constructing a Mini Greenhouse
Place the upper half of the bottle over the planted area, securing it with the cap. This creates a mini greenhouse that helps retain moisture and provides an ideal environment for chili seed germination and plant growth.
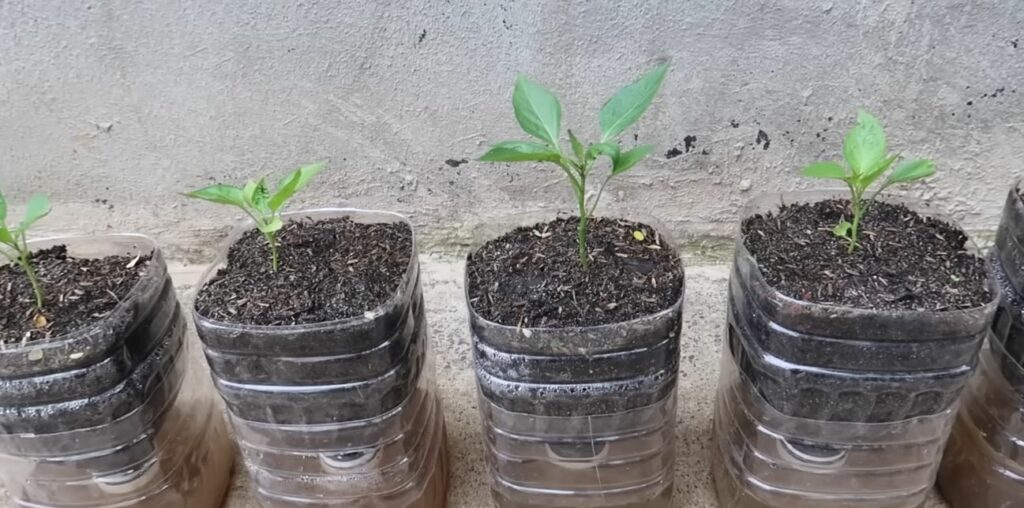
Step 6: Sunlight and Temperature
Position the bottles in a location that receives at least 6-8 hours of sunlight per day. Adjust the bottles as needed to maximize sun exposure. Chili plants prefer warm temperatures, so keep them in a spot with a consistent temperature range.
Step 7: Maintenance and Fertilizing
Monitor soil moisture levels and refill the reservoir when necessary. Optionally, introduce a balanced fertilizer to the soil to supply essential nutrients for robust plant growth. Follow the recommended dosage on the fertilizer package.
Growing chili in plastic bottles is a straightforward and water-efficient gardening method accessible to all. With minimal watering requirements and the added benefit of recycling plastic bottles, this approach makes chili cultivation feasible in various environments. Embrace this eco-friendly technique, and relish the joy of harvesting your own spicy chilies at home.